
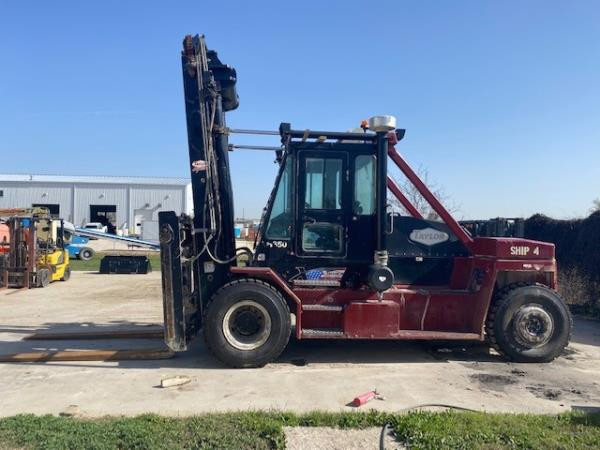
Make: TAYLOR
Model: TXH350L
Year: 2016

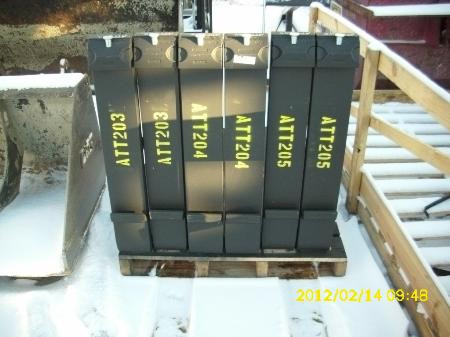
Make: Manitou
Model: 48" Forks
Year: 2012
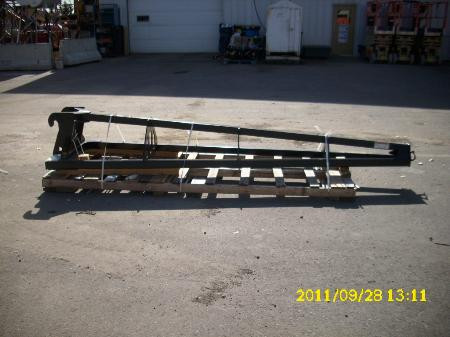
Make: JLG
Model: Truss Jib 12'
Year: 2011
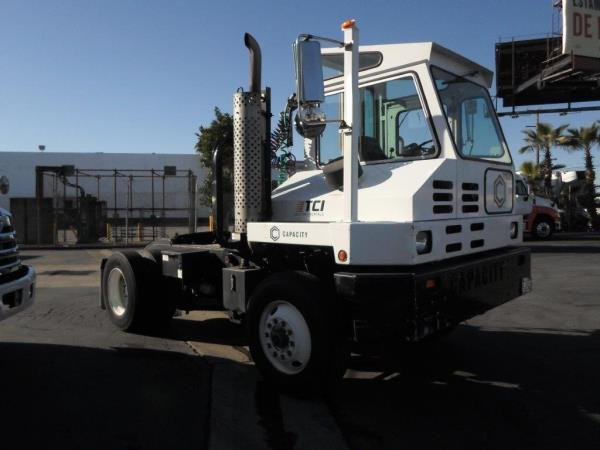
Make: Capacity
Model: TJ5000 DOT
Year: 2010
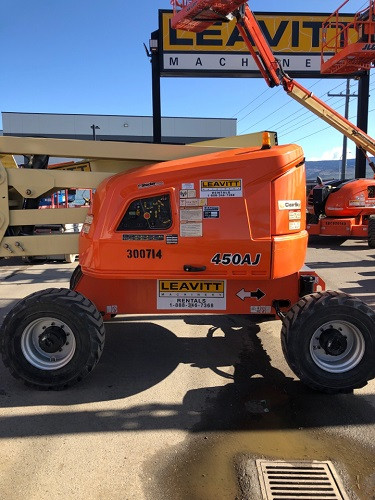
Make: JLG
Model: 450AJ
Year: 2016

Make: FrostFighter
Model: IDF350
Year: 2015
Daewoo Propane Forklifts Dallas
Change a Propane Tank
Propane powered forklifts are normally utilized inside warehouses. The lift truck is designed with the propane tank mounted at the rear of the operator. The tanks, that look a lot like beer kegs, have to be replaced every so often because they have a limited lifespan. Forklift drivers must always use care when handling propane tanks. Compressed gases are very hazardous, especially since the gas is flammable. Always utilize care when replacing and removing propane tank to prevent injury.
1 To change a propane tank, first stop the forklift and leave the engine running, and turn off the valve on the tank. Let the lift truck run until the engine dies. This process burns the gas off in the transfer hose that connects the engine and the tank. Prior to taking the second steps, wear the proper safety equipment, such as insulated gloves made of either neoprene or leather. It is vital for you to protect your skin from touching the compressed gas, that is extremely cold.
2 The hose of the tank needs to be disconnected, followed by removing the tank from its holding straps. When putting in a new tank, tighten the nut to reattach the holding straps and to reconnect the hose at the valve of the tank.
3 Leaks could be inspected just by applying soapy water to the valve and slightly opening it. If there is a leak, it would cause bubbles to foam from around the valve. If this occurs, check the valve area and the connection hose at the nut. The connecting nut should be re-tightened if you detect any leaks around the valve area, and after that do the leak inspection procedure again. Persistent leaks mean that both the connecting hose and nut must be replaced. However, if replacing the hose and nut still does not stop the leak, the tank will have to be replaced.
4 Lastly, open the valve all the way to enable the gas to fill the connecting hose. Afterward you can start the lift truck and continue working.
- Mitsubishi Forklifts Dallas
Even if there are numerous companies who begin employees in the receiving area, they would be much better off to assign pro's to deal with the put-away jobs. Experienced people who really understand and know... More - JLG Straight Boom Lifts Dallas
JLG provides the 600 Series of articulating booms. These units feature a narrow chassis option to access confined areas. The 600 Series showcases the best work envelope within the industry; a horizontal outreach of 12.12... More - Komatsu Dual Fuel Forklifts Dallas
Dual Fuel Engine The Dual Fuel engine is a type of engine which uses a mixture of diesel fuel and gas fuel or can operate off of diesel by its self. The dual fuel engine... More - Haulotte Straight Boom Lifts Dallas
Telehandlers are heavy duty work machines produced specifically to operate in rough environment. This however, does not mean they can be driven without regard on rough terrain. These kinds of machinery have a much bigger... More - Doosan Diesel Forklifts Dallas
Forklift Engines Forklifts are classified as small-engine vehicles. Forklift engines all follow the principles of internal combustion, while the numerous makes and models of lift truck would have a different layout and design. Forklifts are... More